Affiliate Disclosure: I only recommend products I used or would use myself, and all opinions expressed here are my own. This post may contain affiliate links, and if you purchase something from one of my links, I may earn a small commission (at no additional cost to you).
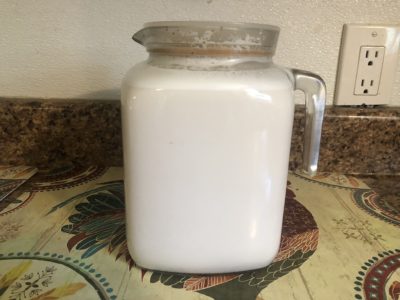
This vegan almond milk is one of my biggest staples, and at just 2 ingredients it’s so quick and easy to make—which is literally everything to me, and I am sure to a lot of you as well. I primarily use it in my coffee, smoothies, and cereal. I even add it into in soups and other savory dishes when the need arises. It’s so versatile and great to have on hand, plus when you make it yourself you know exactly what goes into it. That was huge for me when first deciding to make my own almond milk. It’s just almonds and water…no fillers, preservatives, gums, additives, carrageenan, lactose, or any other bullshit.
How to Make Homemade Almond Milk
Making your own almond milk is super simple. You’ll be wondering why you haven’t given it a try sooner.
To make this dairy-free nut milk, there are just four simple steps.
Jump to Recipe1. Soak the almonds
Make sure to use raw almonds and organic or wild farmed if possible. Soaking makes the almonds easier to break down (both in the blender and in your digestive system). It can also improve the taste and aid nutrient absorption (due to removing tannins in the skin), and produce more liquid since they swell when soaked.
Knowing that the almonds increase in size, I usually measure a little less than what I will need to offset this. So if I want 2 cups of soaked almonds, I probably will only measure 1-1/2 cups of dry almonds.
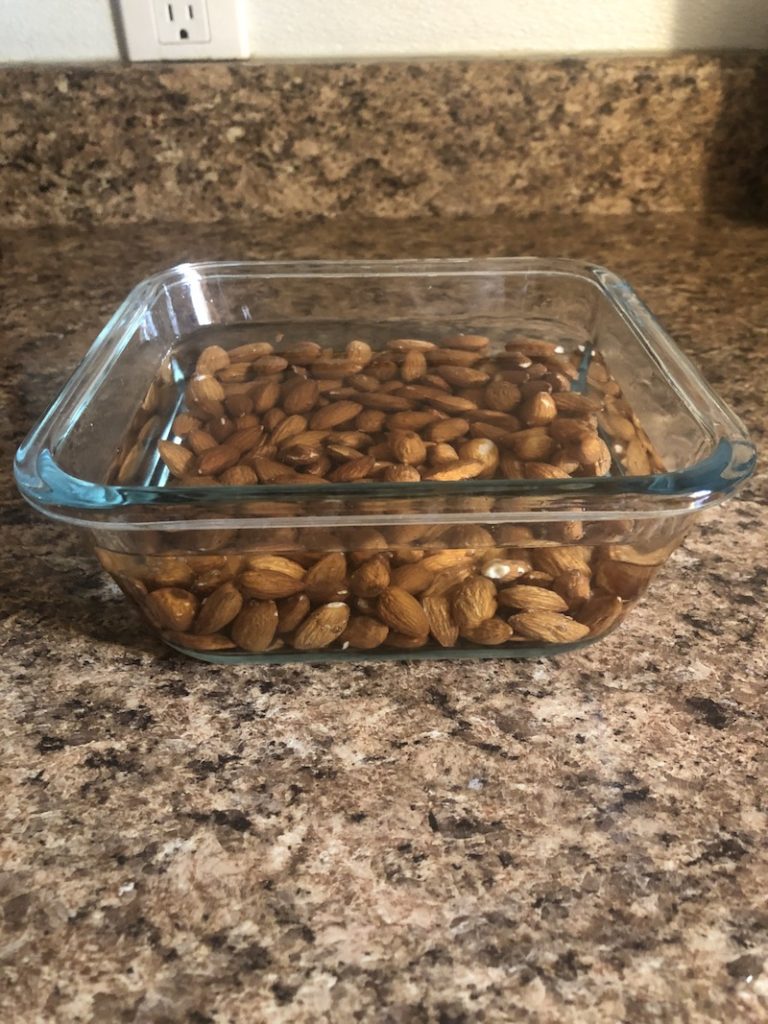
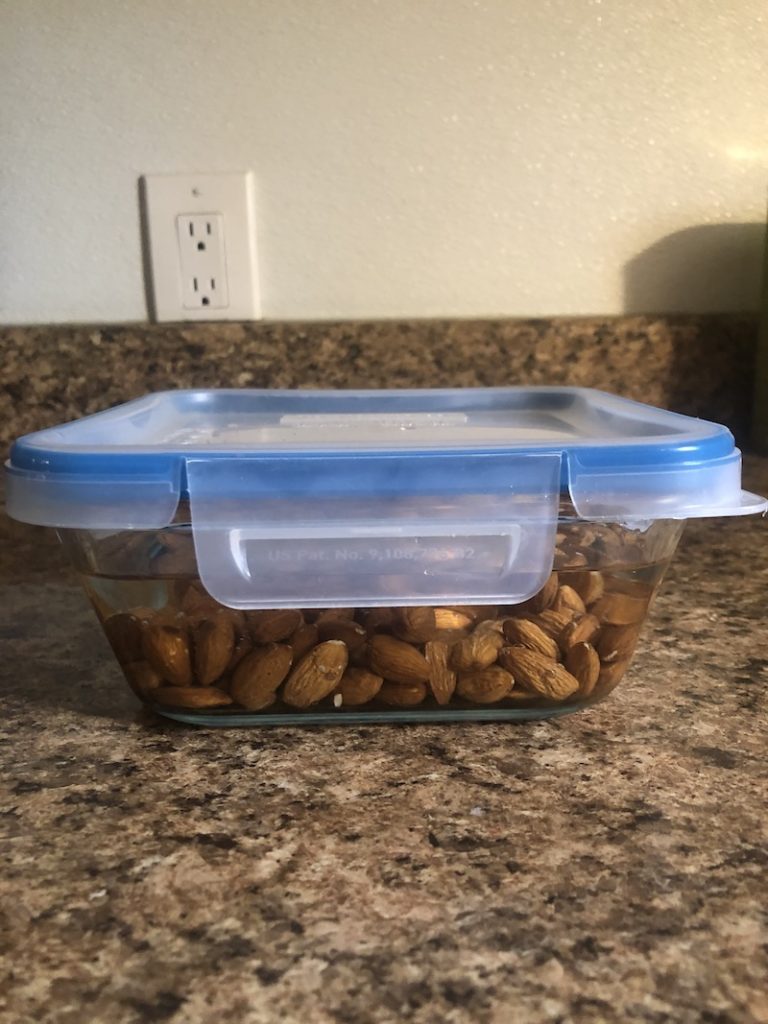
Add your almonds to a mixing bowl or food storage container and cover with water. Cover and place in the fridge overnight. If you are pressed for time, then a minimum of 4 hours of soaking will do. Alternatively, you can soak in very hot water for 1-2 hours to reduce this time more.
2. Drain & Rinse the Almonds
After soaking, drain out the liquid with a strainer and rinse well. You’ll notice the water is slightly tinged brown. This is normal and is the part of the skin and tannins being washed away.
3. Blend Almonds & Water
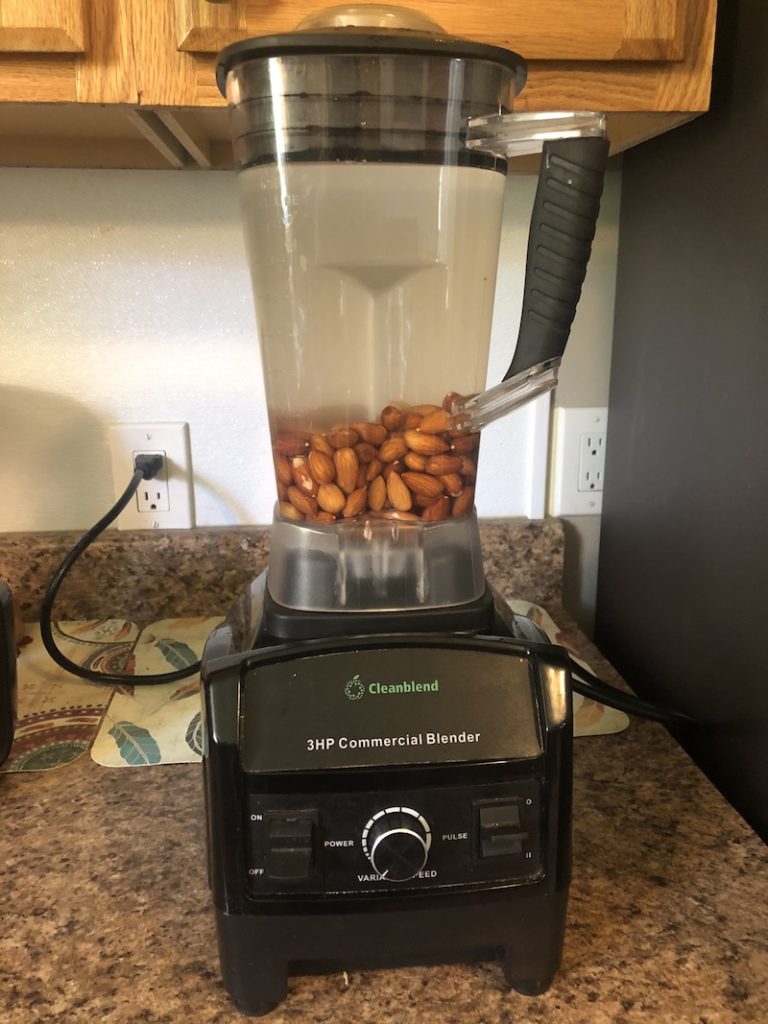
Pretty straightforward here. Add your soaked almonds—I like to do 2 cups because it yields me the perfect amount of milk for one, 2-quart pitcher—and 8-9 cups water to a high-speed blender.
You can use filtered water if that’s your thing or you have city water and don’t want that shit from the tap. I have well water, so it’s amazing out of the tap as is. I say 8-9 cups, because again, that’s what it takes for me to fill the pitcher I have, and the ratio I use it 1:4 (almonds to water).
Use a little more water if you want to stretch your milk and your dollars. I do this especially if I know I am going to mostly use it for smoothies, because honestly with fruit and everything else, it doesn’t matter if the milk’s a bit thinner and diluted, there is still plenty of flavor to go around. Plus, it obviously yields more liquid this way, and if you make smoothies, you know they take a decent bit of liquid. Use a little less water for a creamier texture and nuttier flavor. If I know I’ll predominantly be using it in my coffee, I swing this way.
You can also add a sweetener if you want such as maple syrup, agave nectar, or a couple of pitted dates. Some people also like to add a pinch of salt. Use whatever add-ins aid you in living your best life.
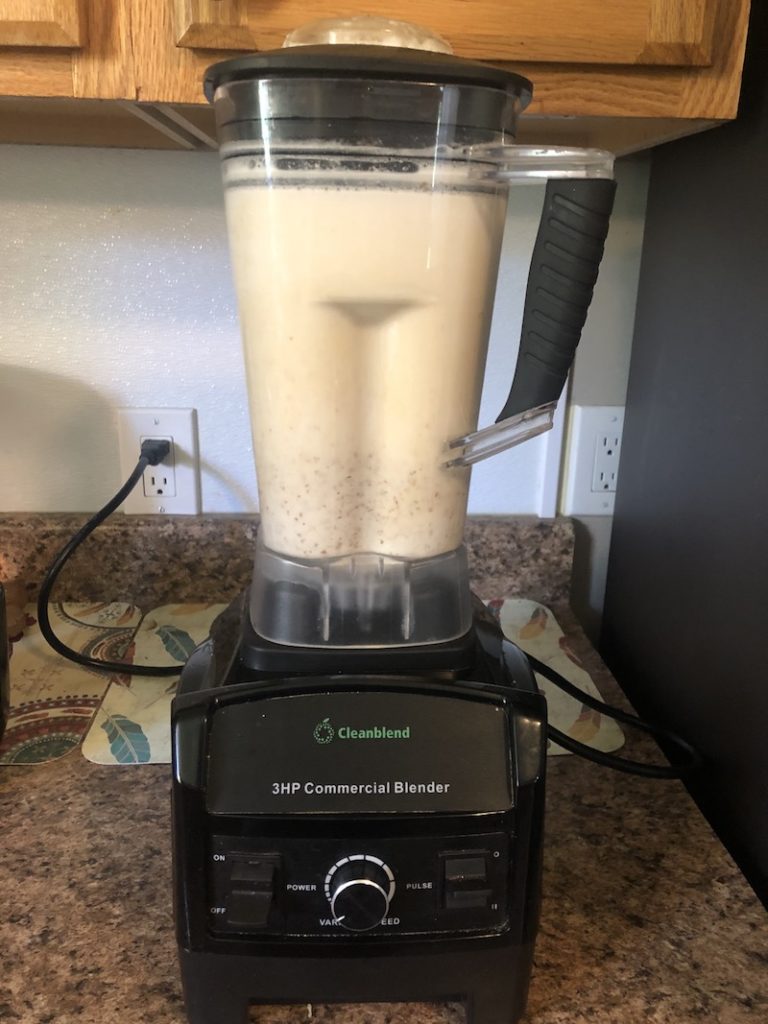
Add all your ingredients into your blender and blend at high speed for 1-2 minutes. Once the almonds are broken down—there will be some pulp on the bottom of the blender—you are ready to strain out the almond pulp.
Strain Almond Milk
I recommend straining the milk with a nut milk bag or unbleached cheesecloth to get all the fine particles, but you could also use a fine mesh strainer if a couple of almond bits don’t bother you. If you’re using your almond milk mainly for smoothies, then a little pulp probably isn’t a big deal. I personally like my almond milk pulp-free because I use it in my coffee daily.
Pour the liquid into your nut milk bag/cheesecloth a little at a time. Squeeze out the liquid into a glass pitcher, jar, or bottle.
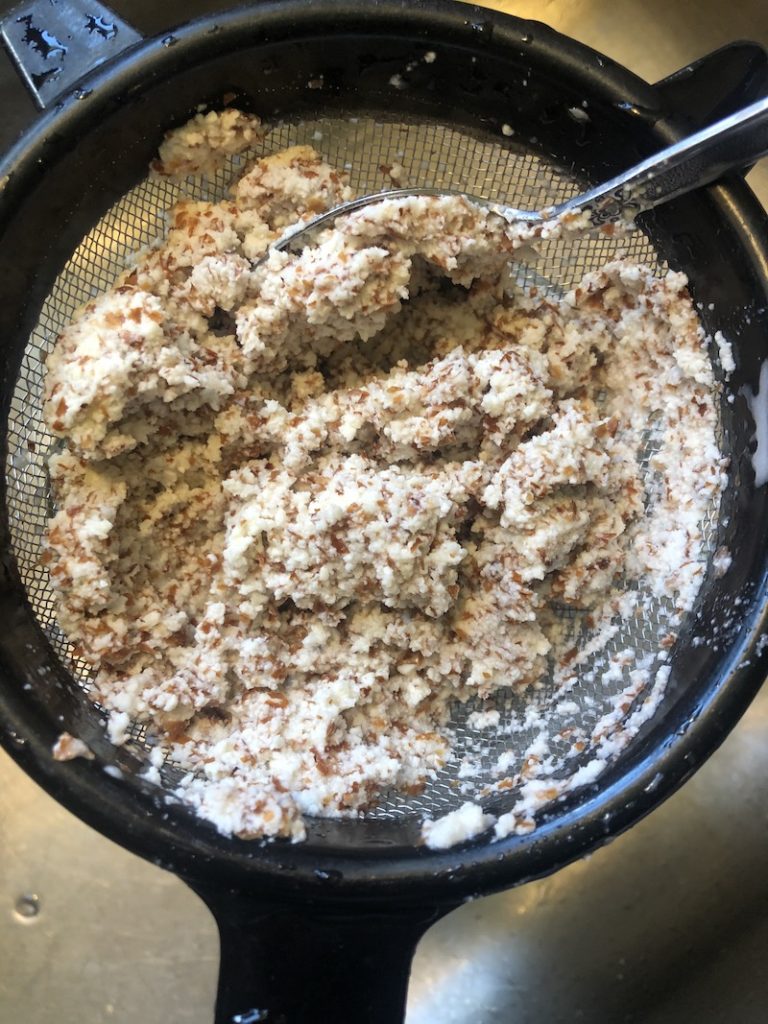
After squeezing out the liquid, what you are left with will look something like the the below. (Here I did a double strain process…because that’s what I was in the mood to do that do. I strained through a fine mesh strainer, then passed the liquid through a nut milk bag.)
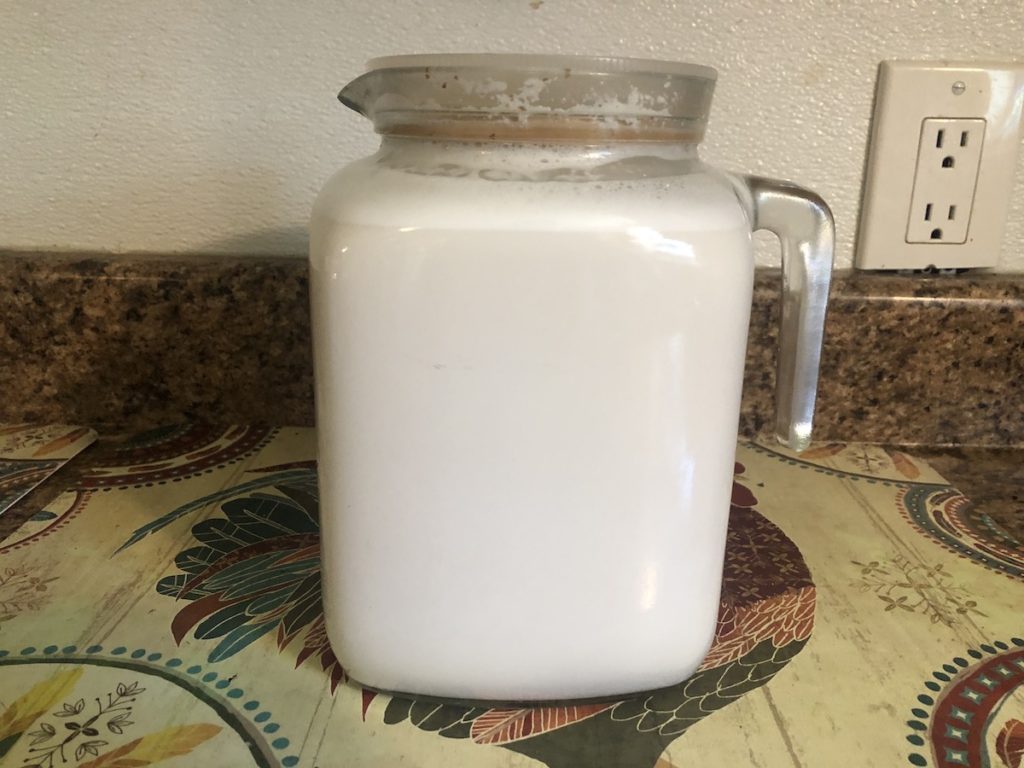
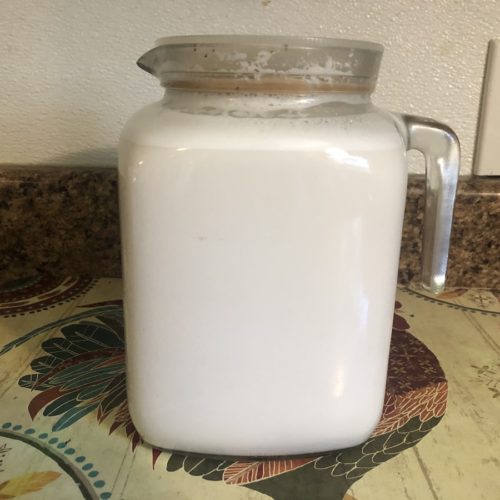
Once done straining all the almond milk, store in the fridge. Below is what my finished product looks like. You can also get a glimpse here of my sexy wall outlet and rooster placemats. (You’re welcome. ?)
The milk is a bit frothy on top after blending and straining, which is lovely in coffee.
What Do I Do with the Almond Pulp?
I’m glad you asked! There is plenty of nutrition left in the almond pulp, and I don’t like to waste anything so I quickly found a use for this stuff (we are big on composting and feeding scraps to the chickens).
There are lots of cool things you can do with the leftover almond pulp. Some people bake it and turn it into almond meal or almond flower, and from there you can turn it into crackers or other baked goods. One time I did turn it into flour and used it in some baked thing that I cannot remember, but I do remember it worked perfectly. It’s makes a great flour alternative if you are gluten-free.
My favorite thing to do with the almond pulp though is feed it to our chickens! They absolutely LOVE and go crazy for this stuff. It’s so funny to watch them eat it. They gorge on it like the end of the world is nigh.
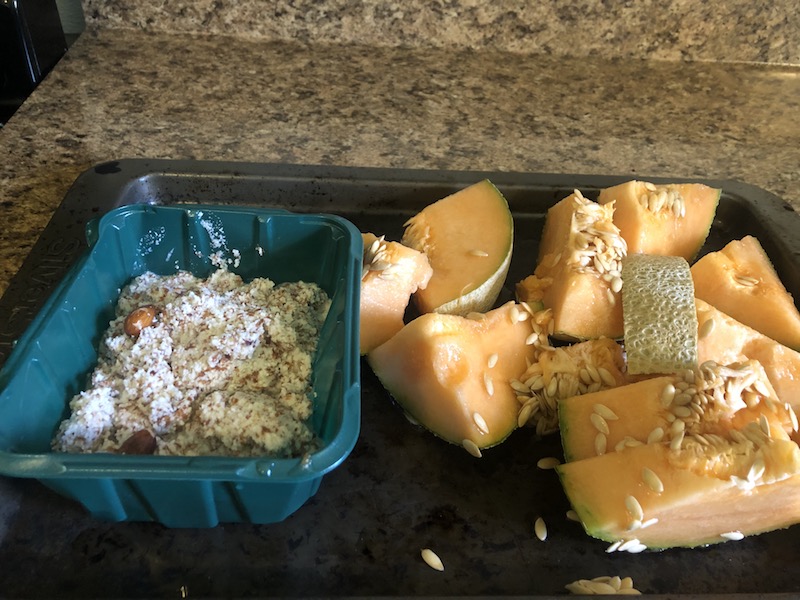
Here’s my tray of chicken treats after I made this batch. (The couple of whole almonds are ones I dropped.) Our chickens also love cantaloupe and really any type of melon or squash.
How Long Does Homemade Almond Milk Keep?
Because this plant-based milk doesn’t contain any preservatives, it inevitably does not keep as long as store-bought non-dairy milk. But you’ll go through it so quick that it really won’t matter.
Store your homemade almond milk in the fridge (sorry to state the obvious…I suppose if you live in the Arctic you can stick it out in the snow), and it should keep for about 4–5 days. So don’t be shy about using it!
Hope you enjoy!
Choose compassion. Make conscious choices. Live long and prosper.
Homemade Almond Milk (2 Ingredients)
Equipment
- 1 blender, nutmillk bag, cheesecloth, or fine mesh strainer
Ingredients
- 2 cups raw soaked almonds
- 8-9 cups water
Instructions
- Soak almonds for 4 hours at minimum or overnight. Alternatively, you can soak 1-2 with very hot water if you want to speed up this process.
- Drain and rinse soaked almonds.
- Add soaked almonds and water to a blender and blend on high for 1-2 minutes. (If using any add-ins such as a sweetener or vanilla extract, add at this step as well.) If your blender is on the smaller side, do this in batches using a 1:3 ratio (cups) of almonds to water.
- Strain the almond milk into a large pitcher or glass jar with a nut milk bag or cheesecloth. You can also use a fine mess strainer, but you will not catch all of the nut pulp with this method.
- Store in the fridge. Keeps for 4–5 days.

